Getting started with a Business Plan
Oversee your billing, add/remove team members, and much more right from your dashboard
Welcome to your Business plan! In addition to all the great features your regular Stark subscription comes with, you now have more control over your team, with centralized billing and user management. Let's get started!
Setting up your Business Plan with your admin account
When creating a Business account, we set the primary contact as admin (unless otherwise specified).
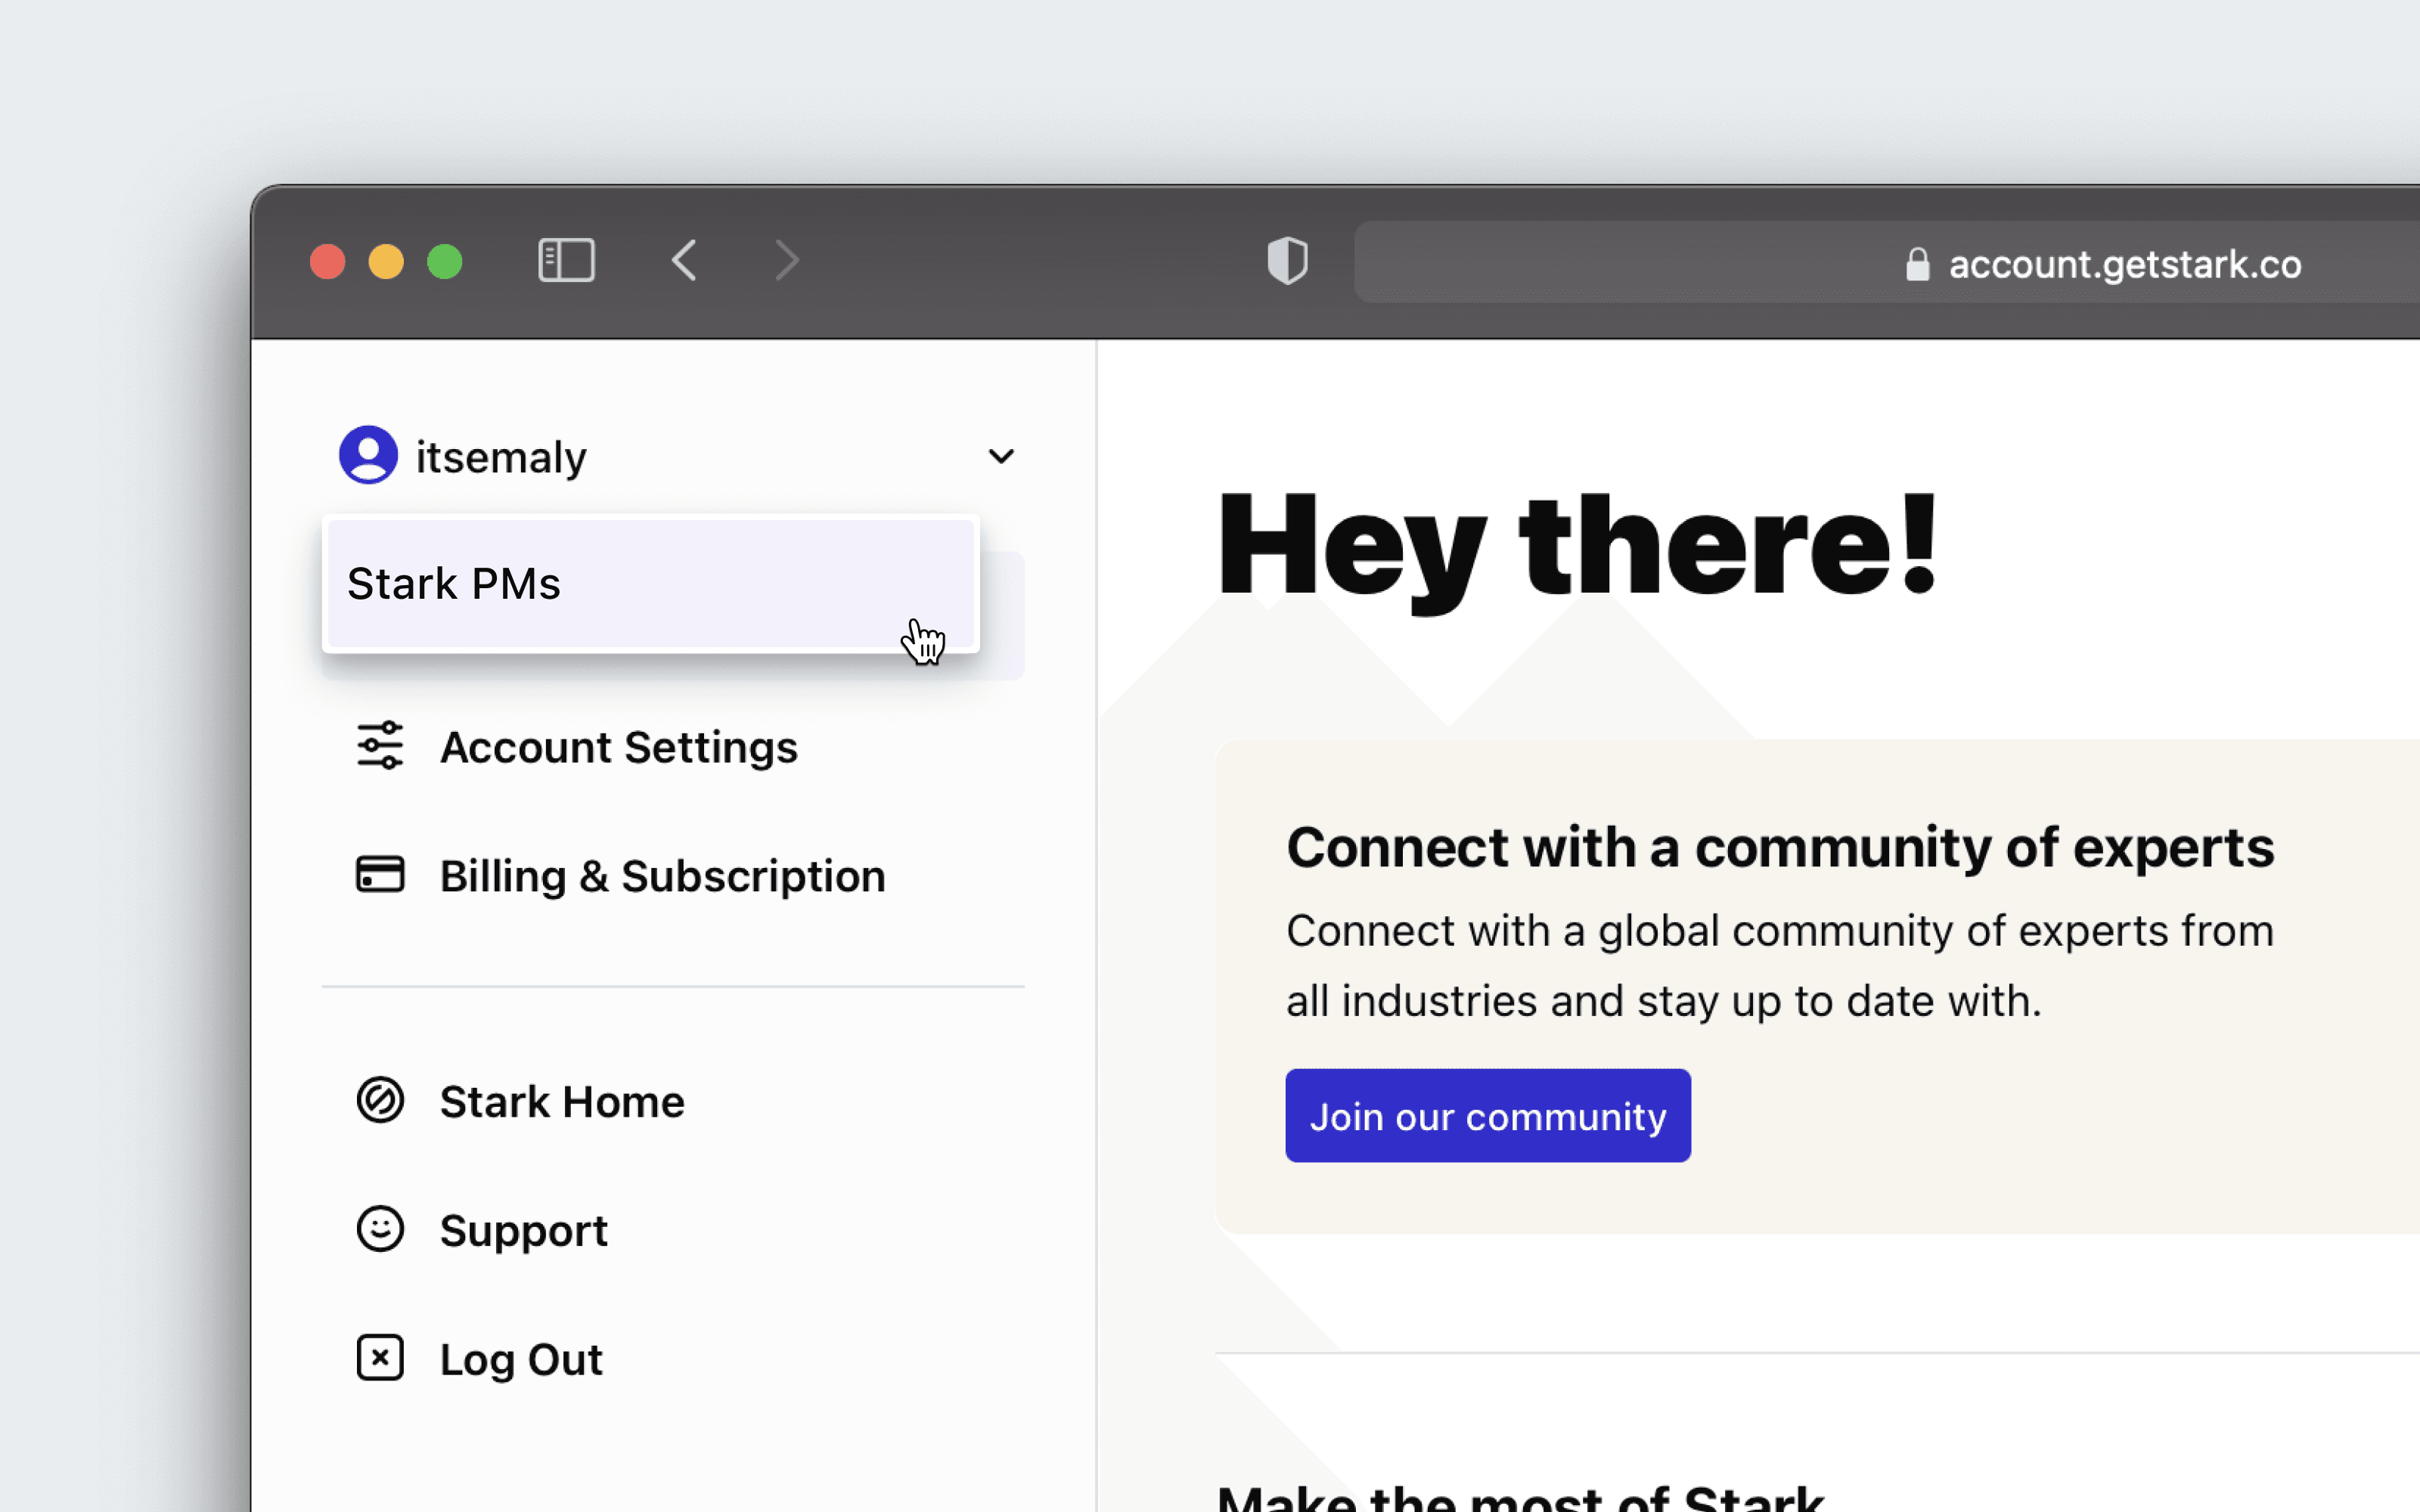
To finish setting up the account, sign into your Stark account. In the top left corner, you can switch from your personal account to your Business account. Only admins can view their Business account.
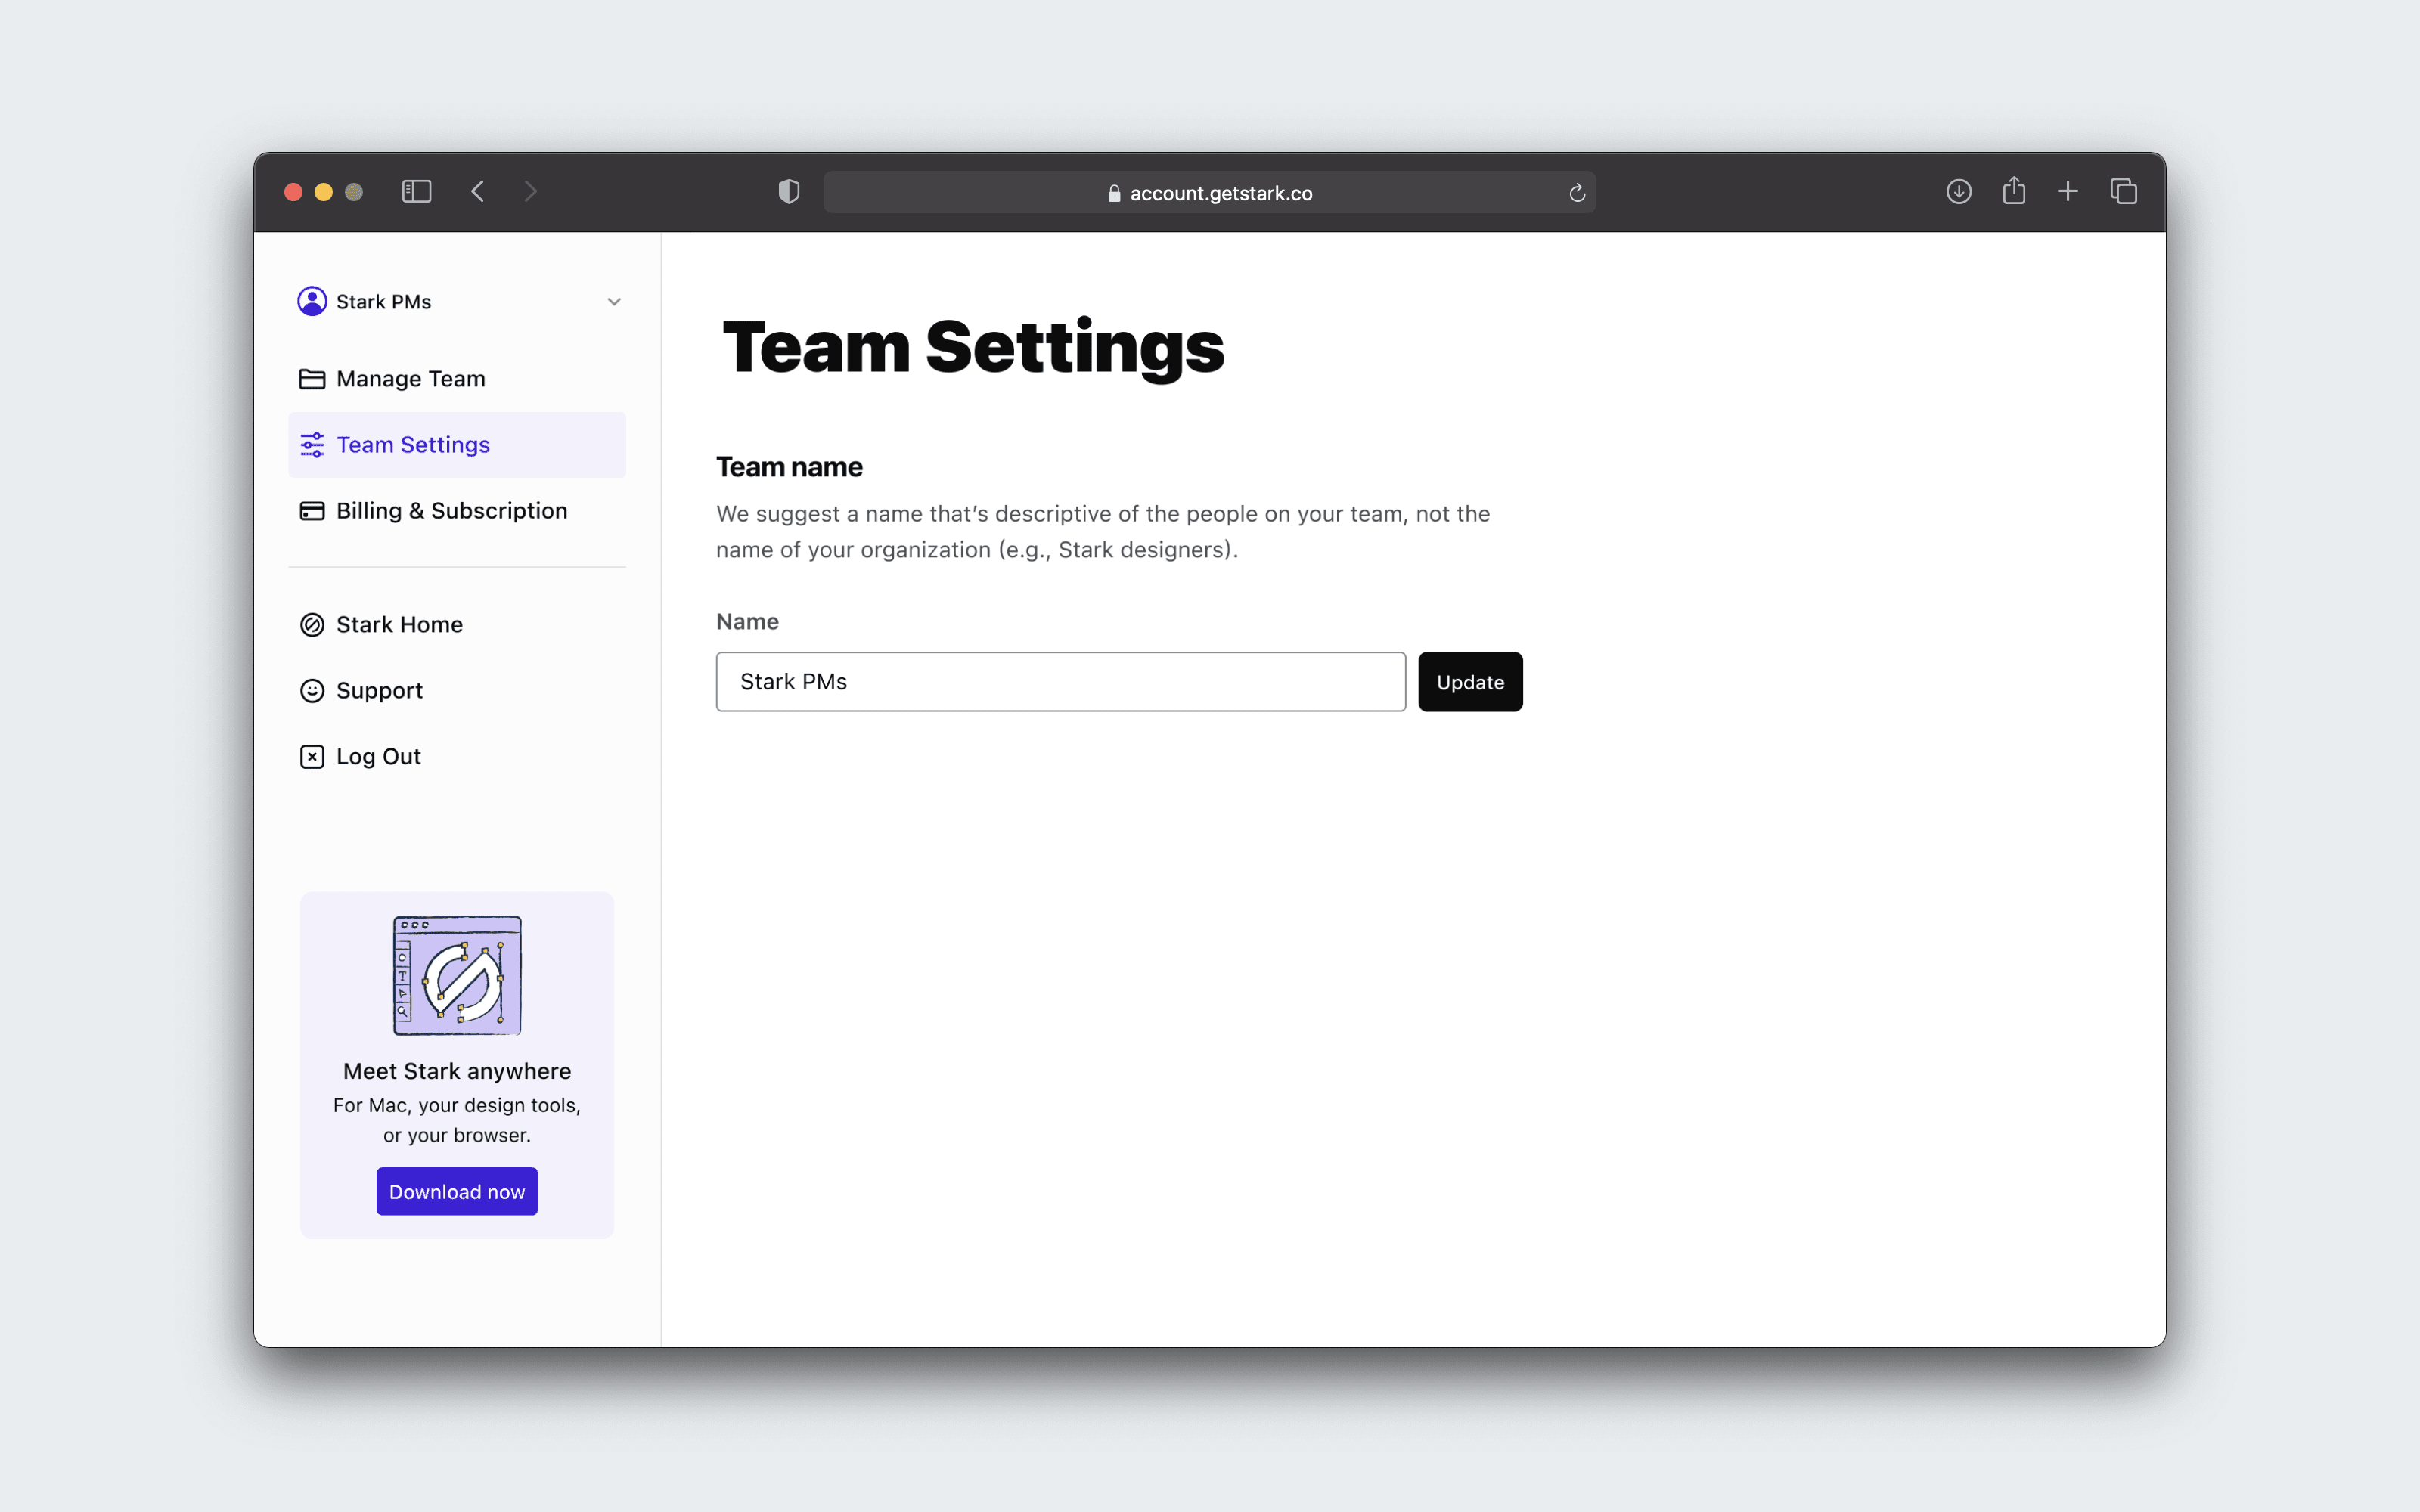
When setting up the account, we give the Team a generic name, so feel free to rename it by going to Team Settings in the menu.
Adding team members
You have complete control over who's on your team; users can be easily added and removed.
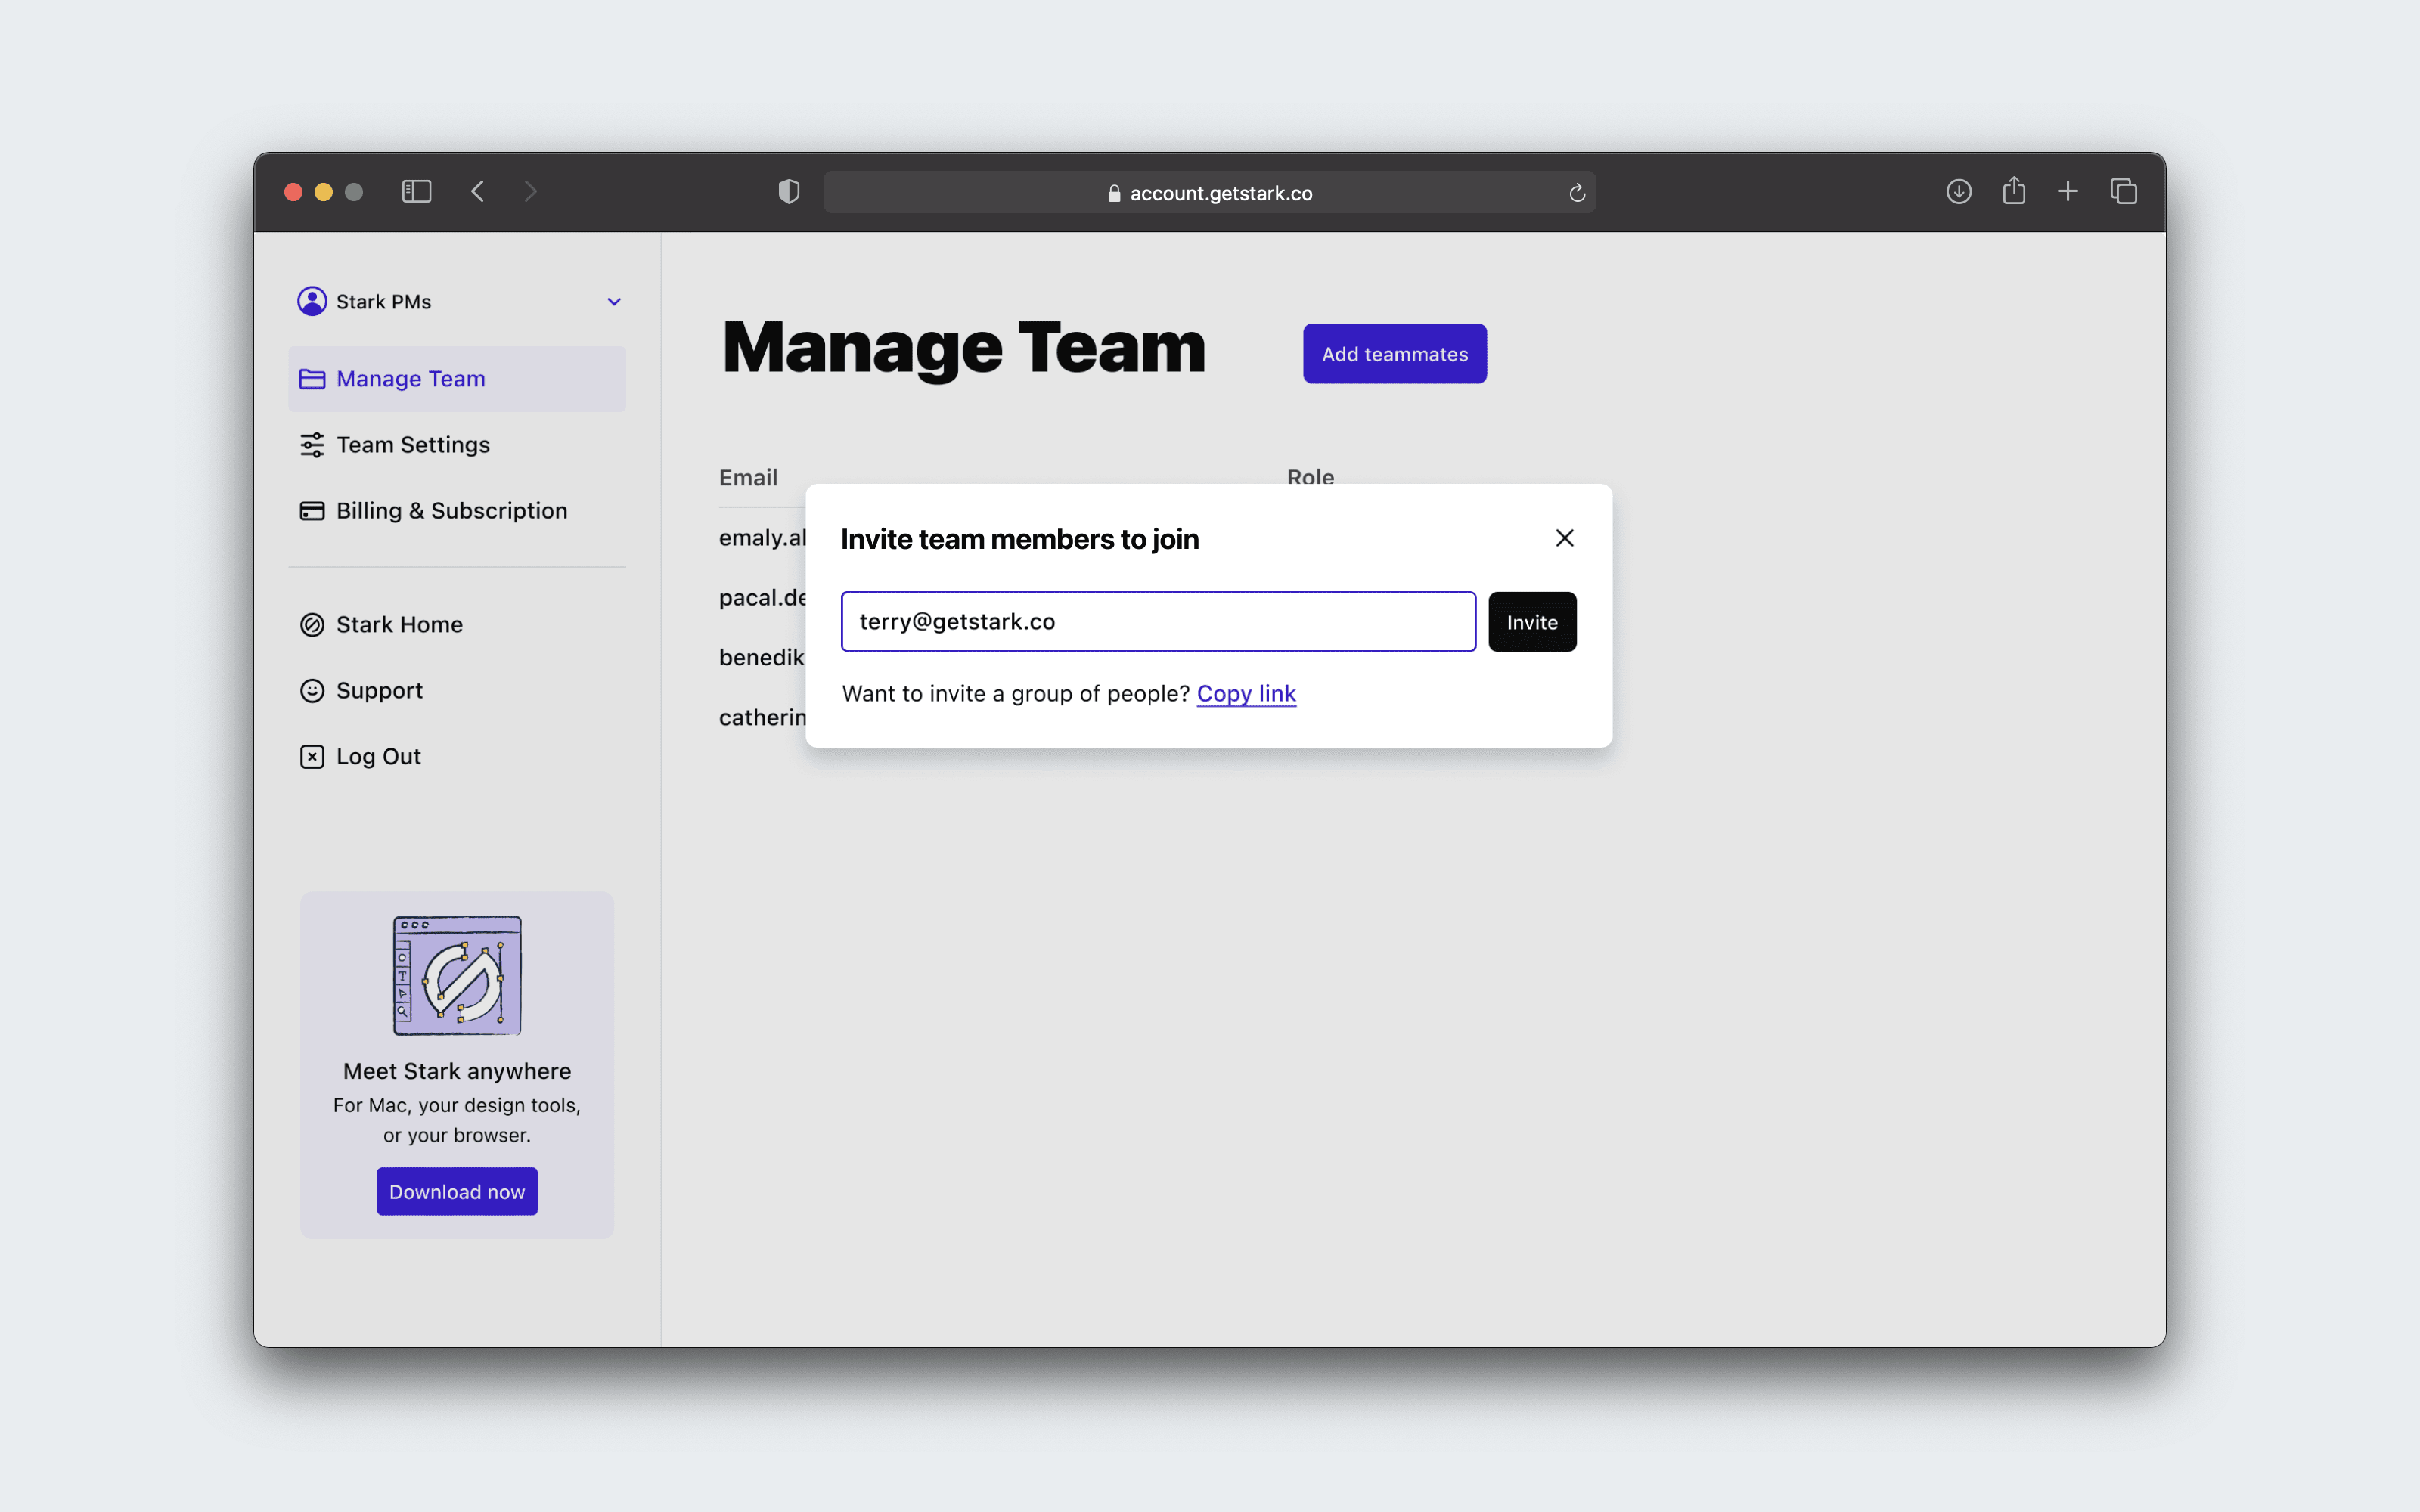
You can add people to your team in two ways:
- Sending an invite to their email from the dashboard
- Manually copying and sending them an invite link
Those you add will receive an email notifying them of their invite to the team. New users will be prompted to create a free Stark account, and existing Stark users will just need to sign in to their account.
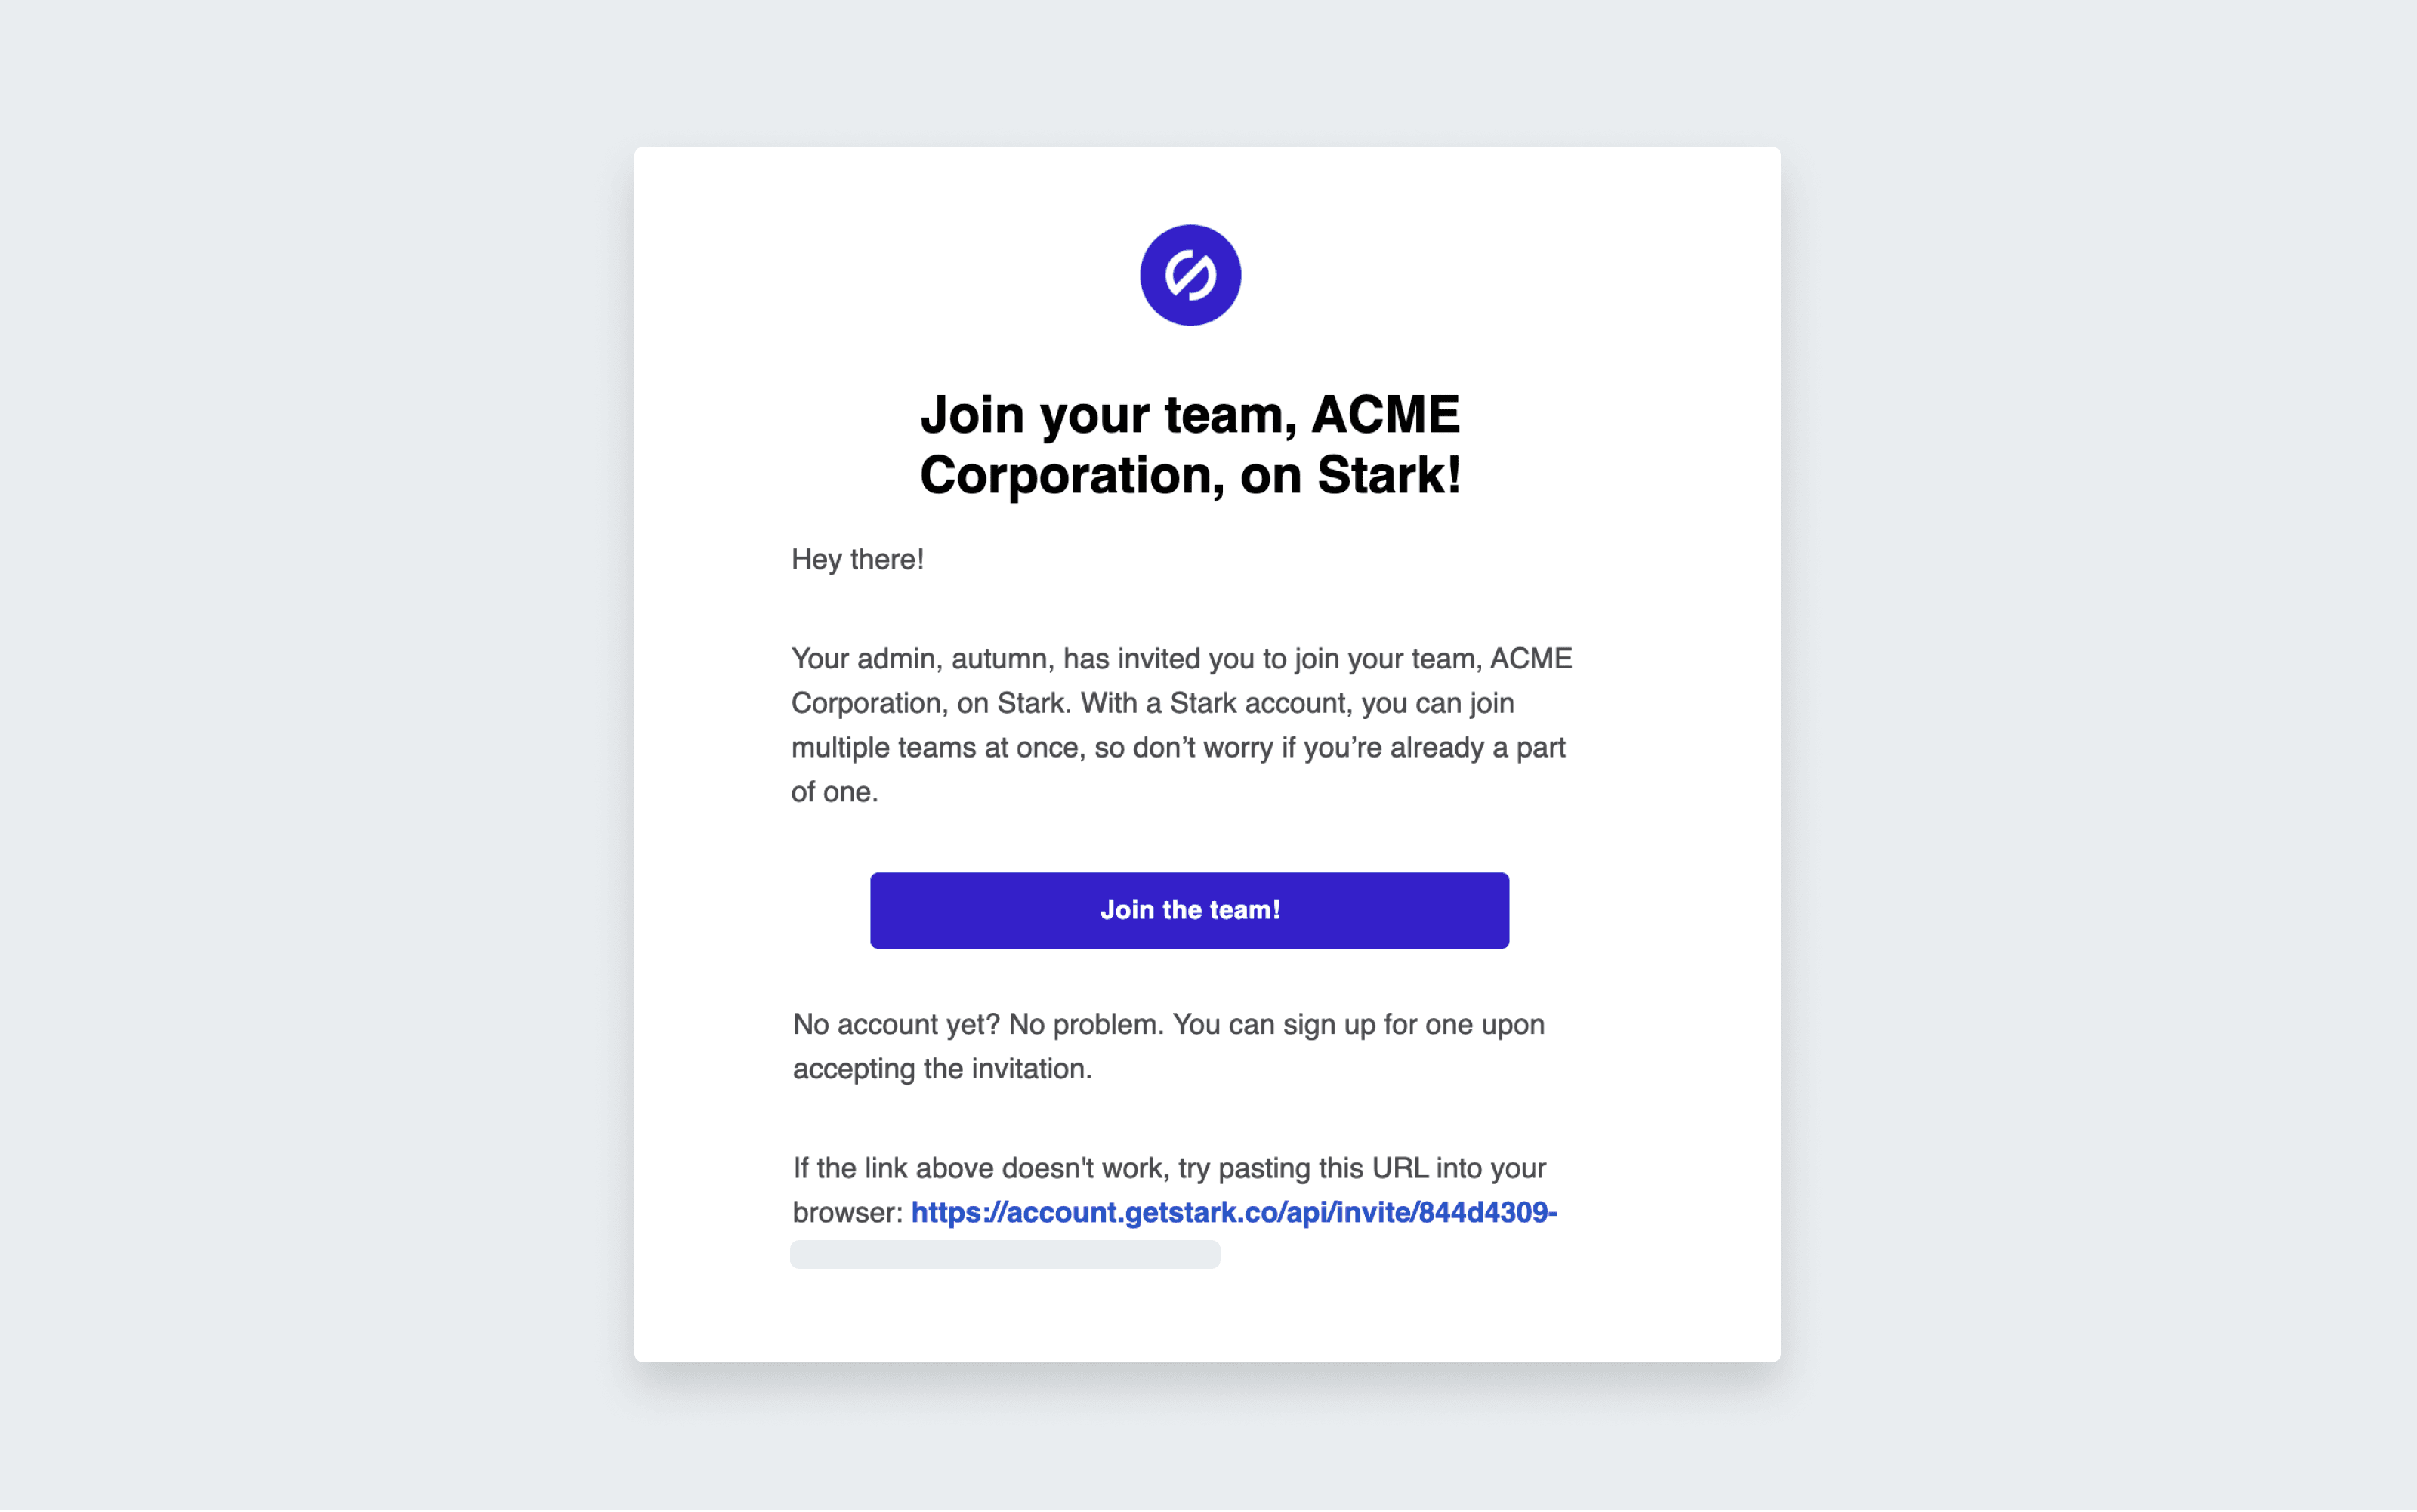
The same is true when manually sending someone an invite link—they'll need to sign up (or sign in). Just remember that anyone with access to the link can become a user in your team, so make sure to limit its spread accordingly.
Removing team members
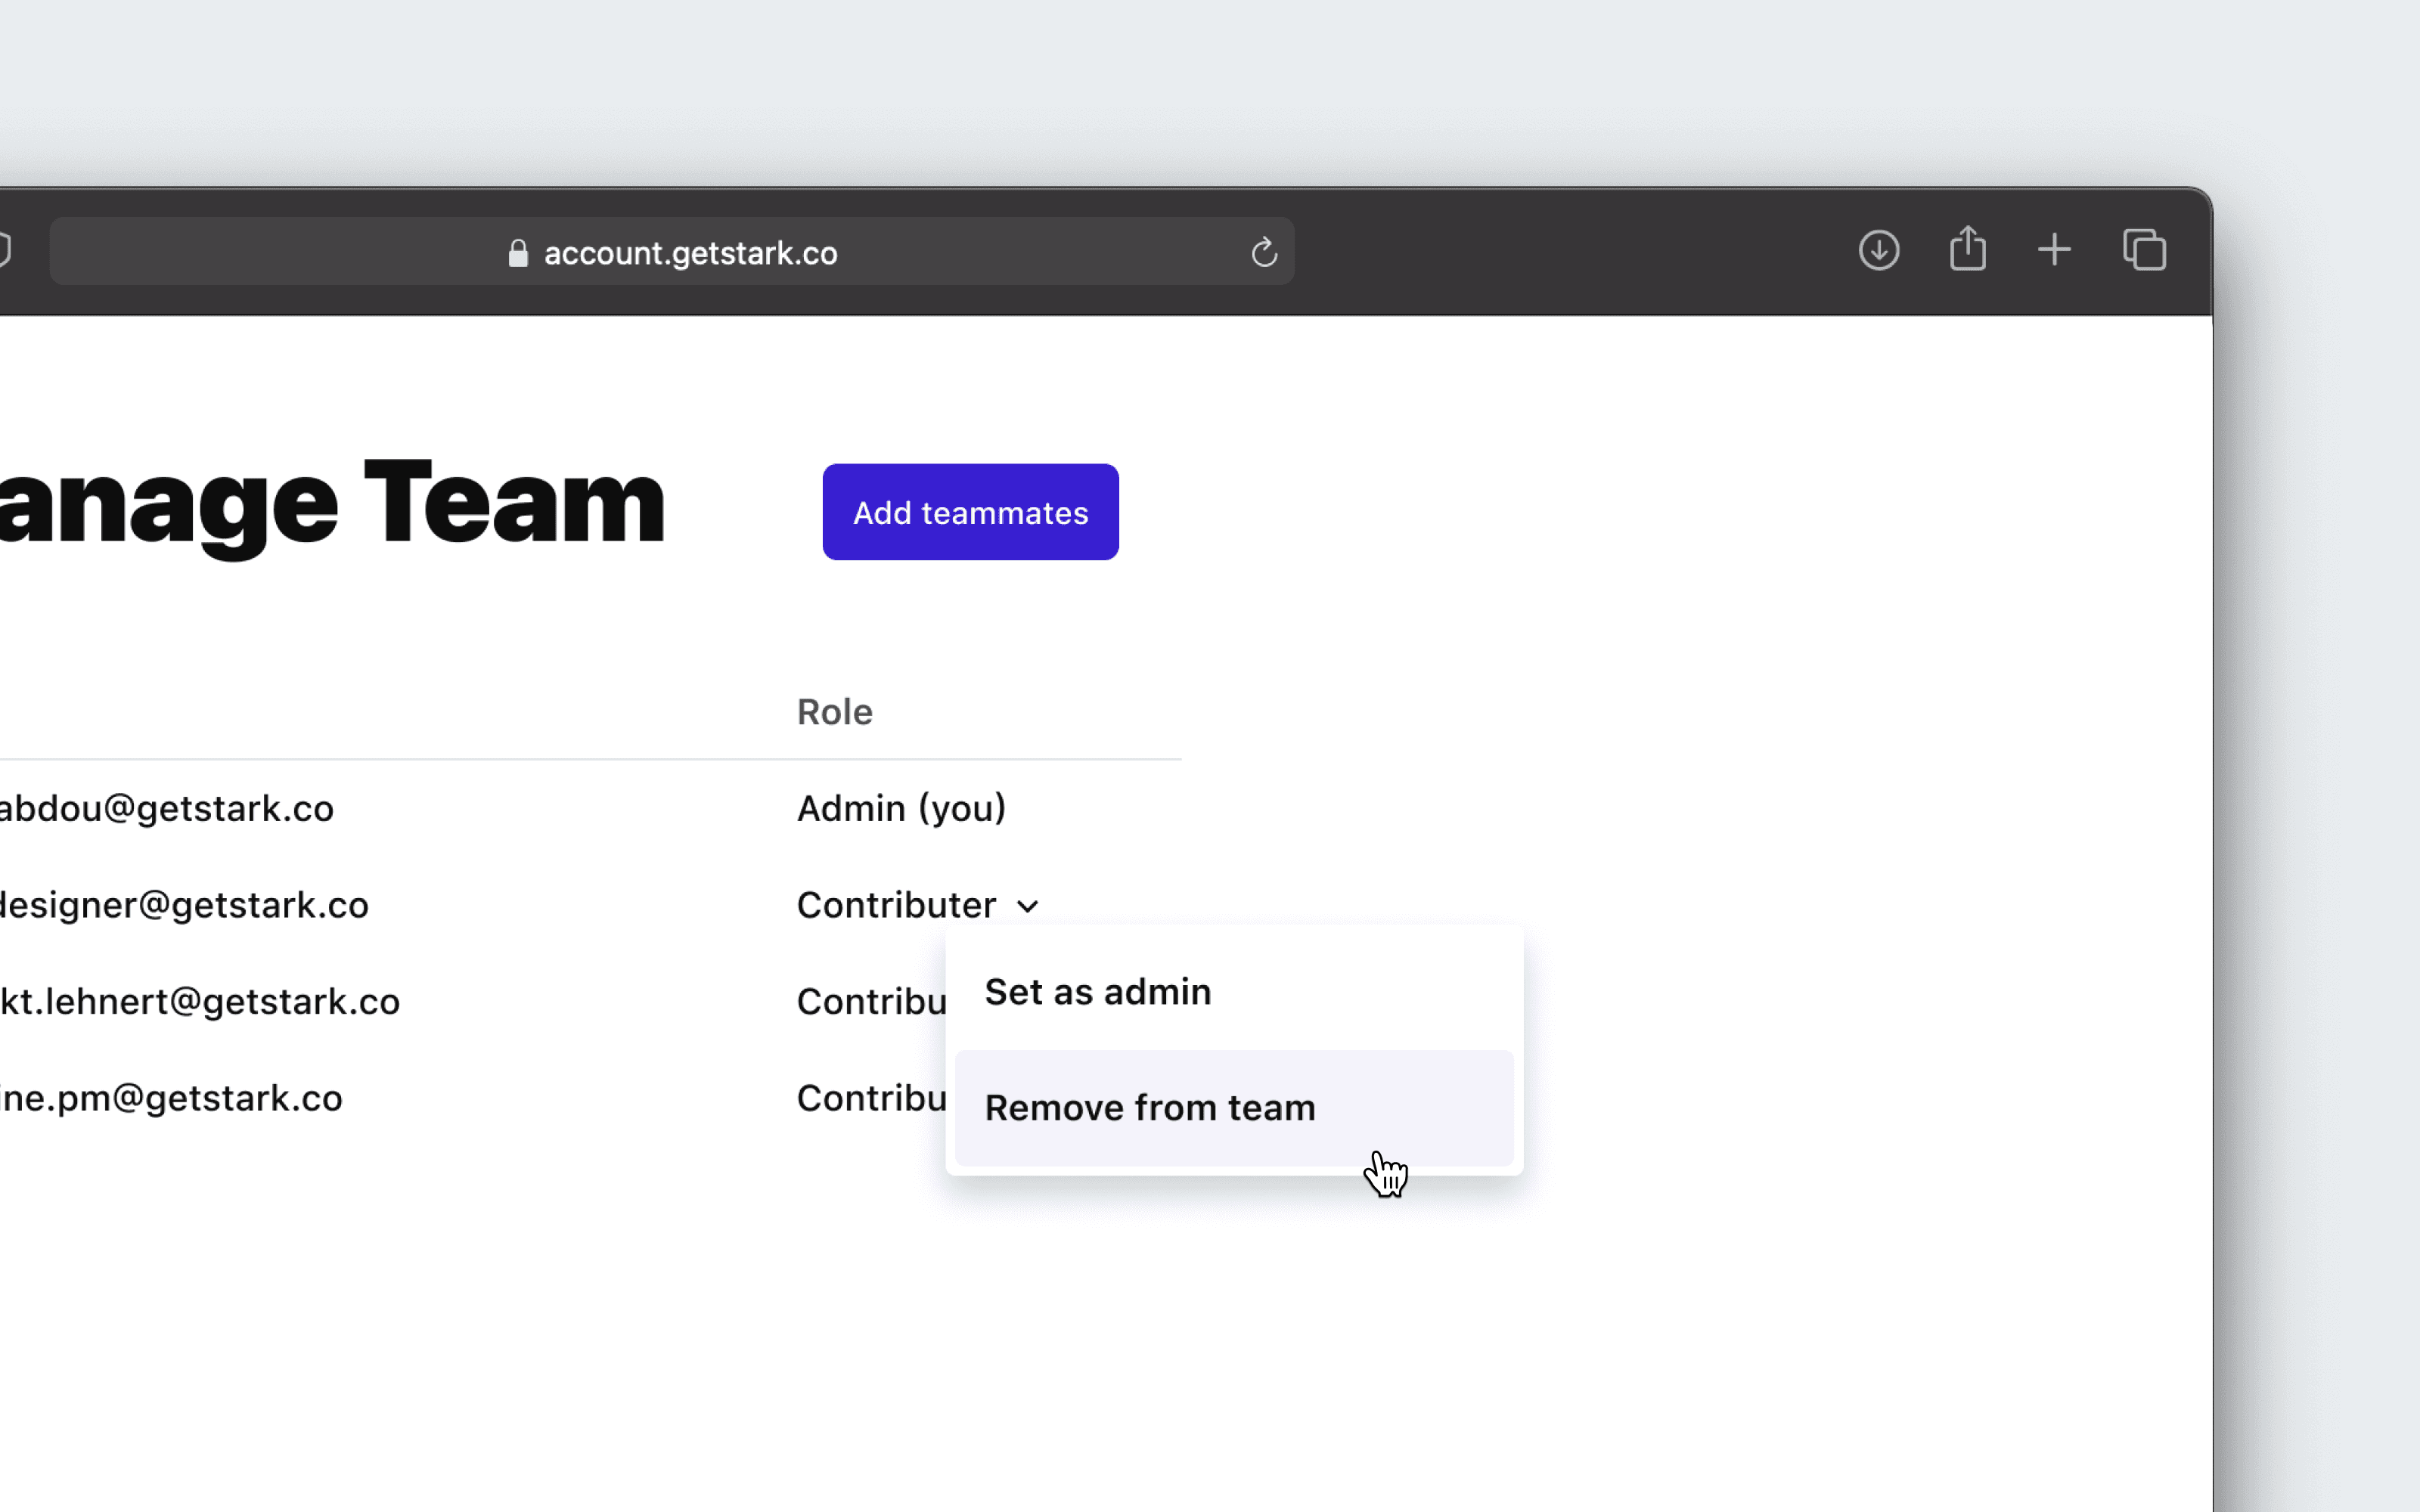
To remove a team member, click the dropdown arrow to the right of the listed member and choose Remove from team. The removed member will still retain their free Stark account, so if they were removed by accident, you can easily add them again.
Setting up SSO for your Business plan
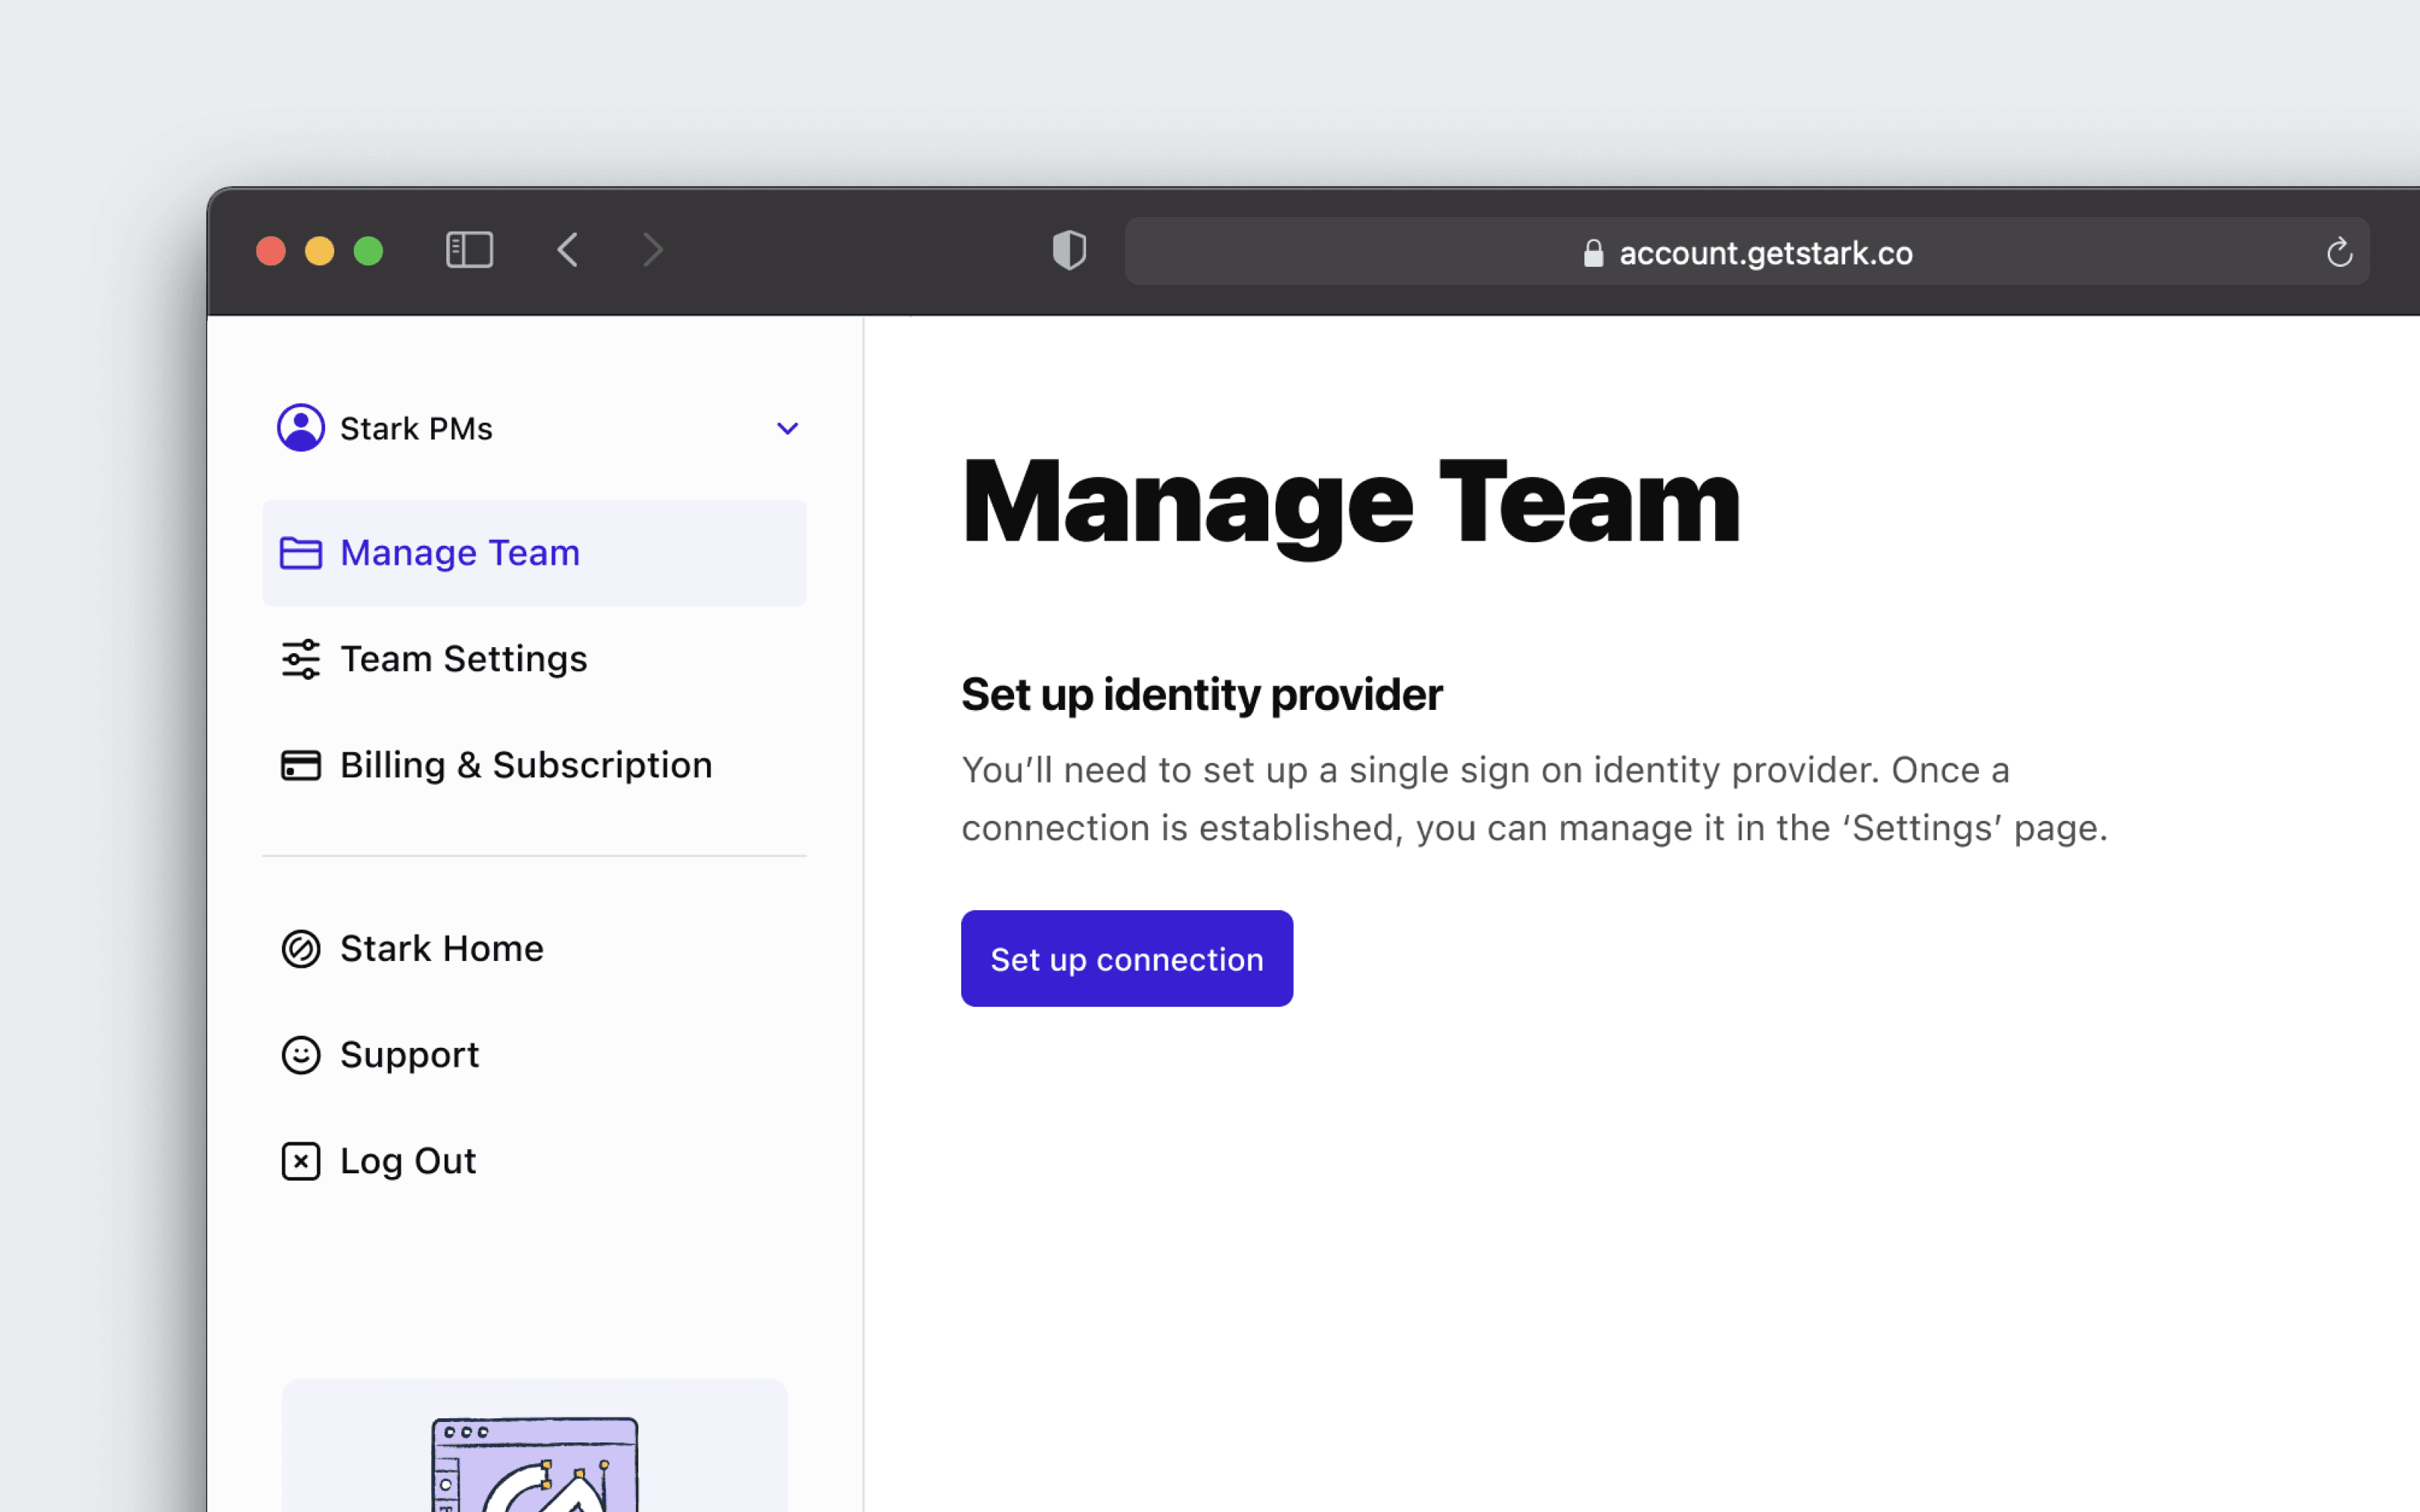
If you’ve added on SSO for your Business plan, you’ll be prompted to connect your SSO identity provider with Stark when you first access your Team dashboard.
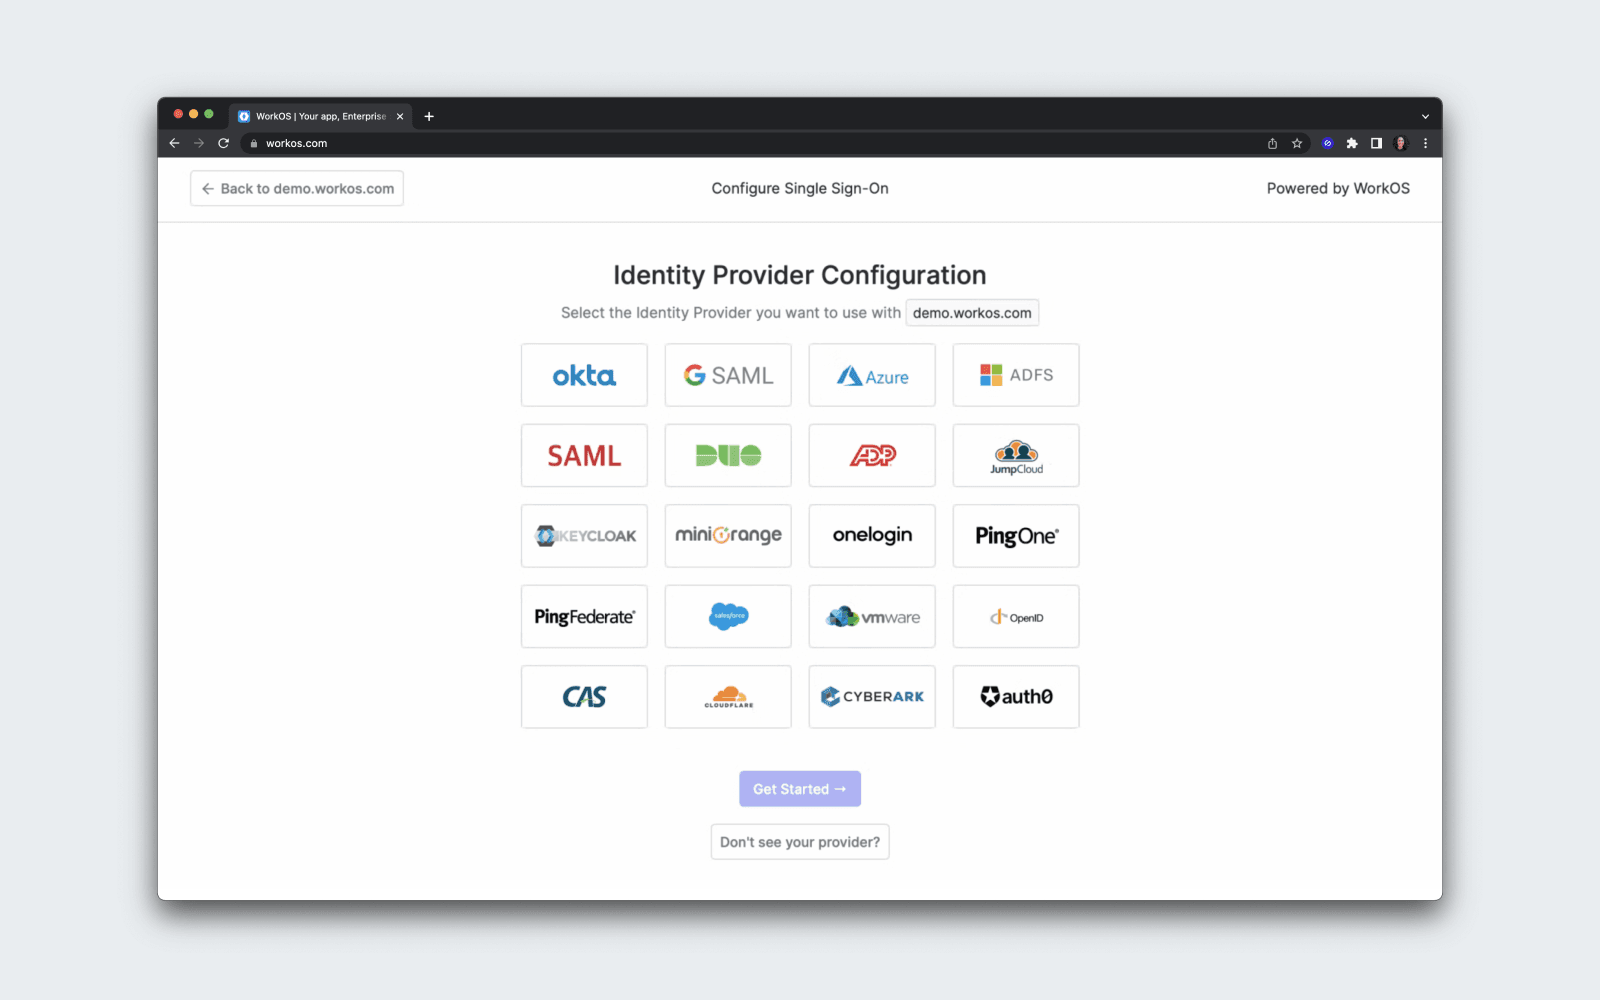
The Set up connection button will bring you to the WorkOS admin panel. WorkOS is our SSO integration provider and will facilitate the connection for you. Select your identity provider from the list and WorkOS will instruct you through the rest of the process.
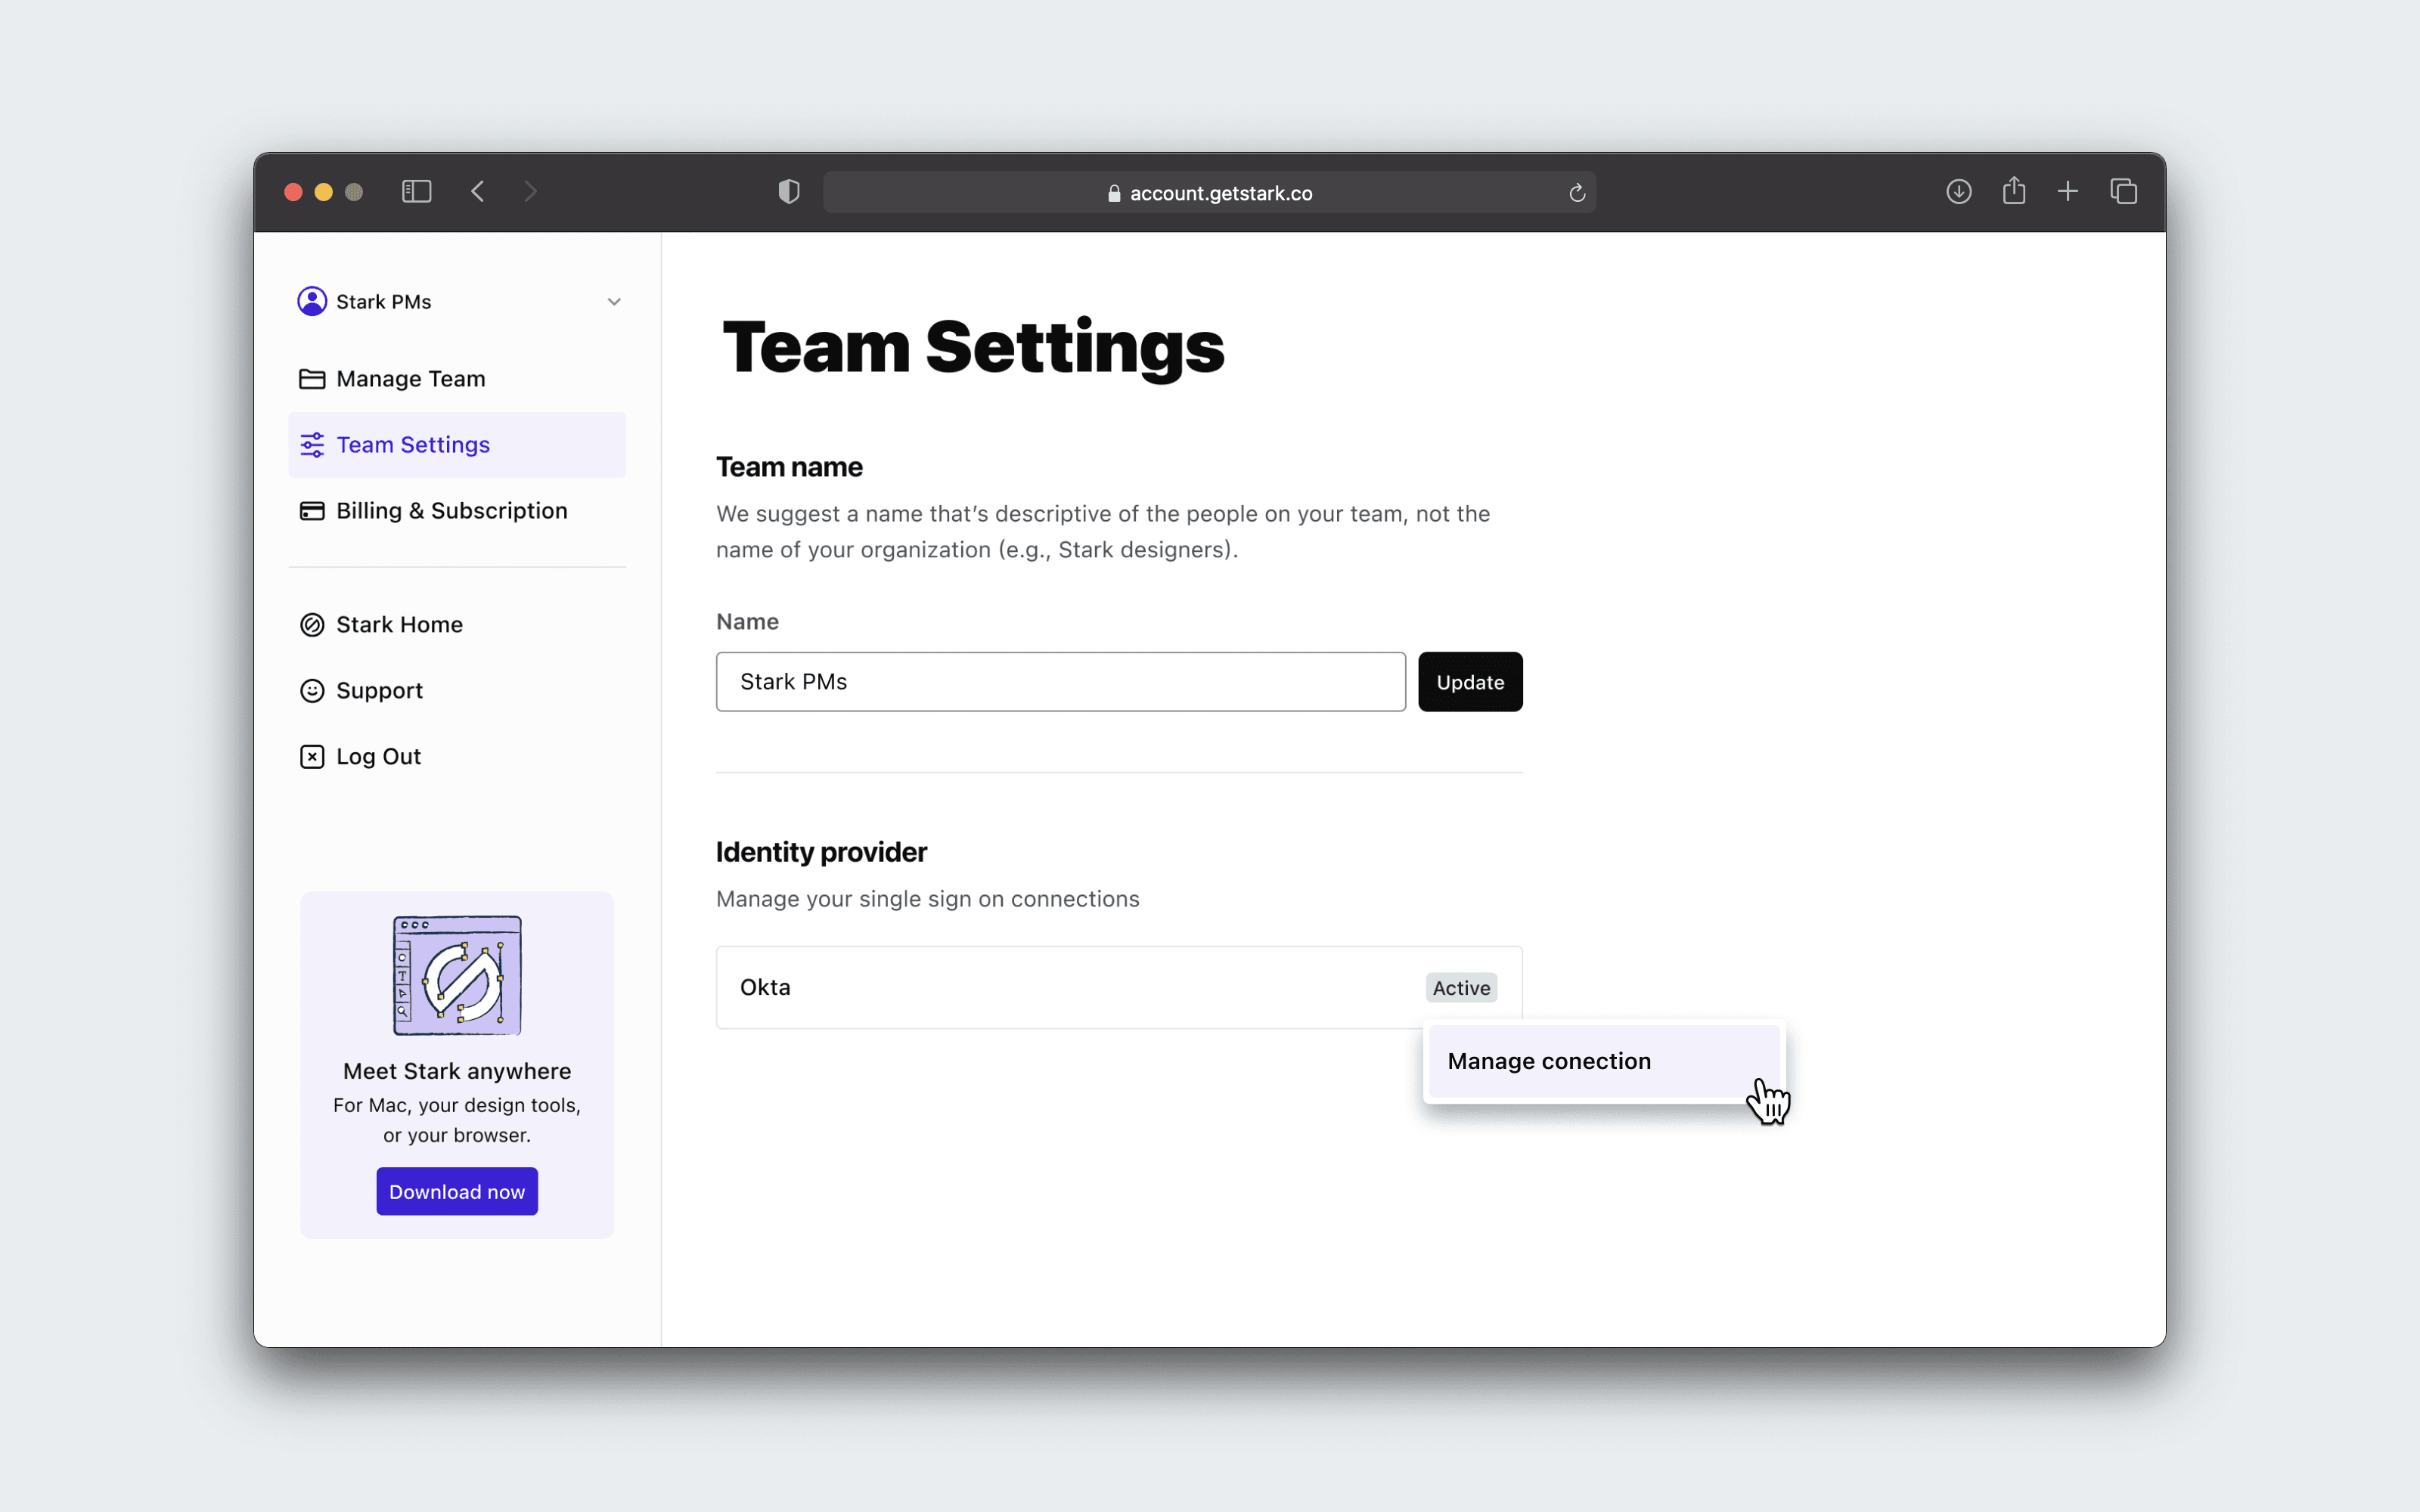
Once you’ve connected your identity provider, you can manage the connection by going to Settings in the sidebar of your Team account in Stark. Click the three-dot icon next to your identity provider and choose Manage connection from the dropdown menu.
Want to run through your setup with us? Not a problem! Reach out to support@getstark.co if you find yourself stuck or with questions.